Advanced configurations
When OpenClaw is initially set up, regardless of whether you chose the Vanilla or Ollama version, there is some onboarding required.
At a minimum, you will need to set up some initial skills. Below, we have laid out a simple guide to help you get started.
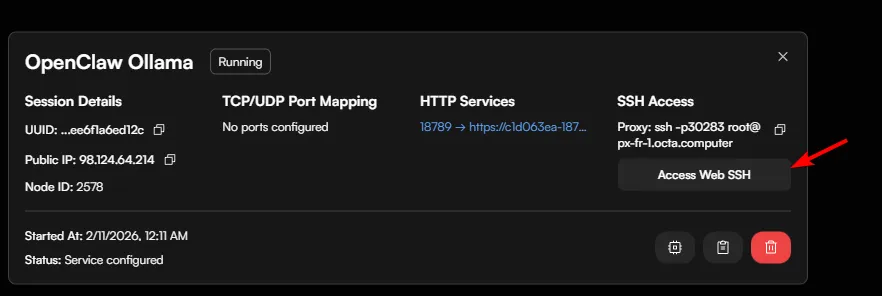
Click on "Access Web SSH" to begin. If you have already added an SSH Public Key inside the cube, you can also access the instance using third-party terminal tools.
Once the terminal is open, you will need to type the command:
su - node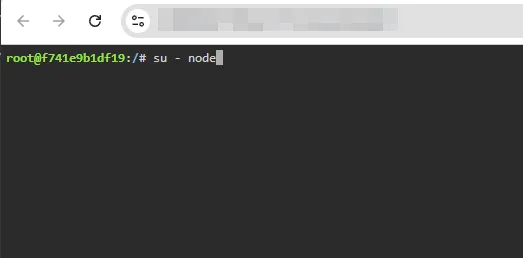
This will switch to "node" permissions and will look something like below if done correctly.
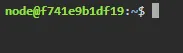
If you are running OpenClaw Ollama version skip to Config section, otherwise continue below.
Onboarding
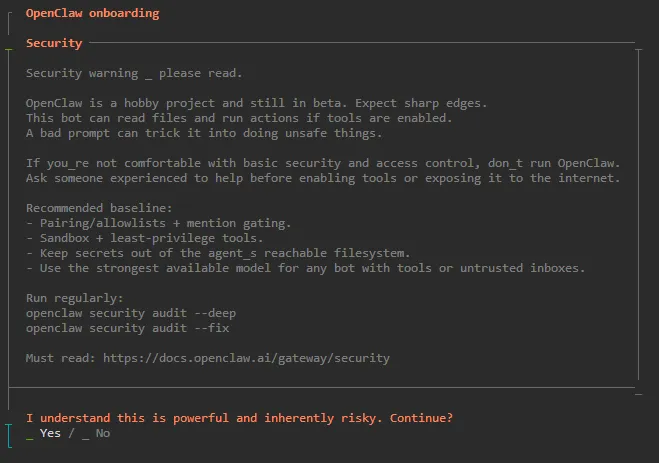
To being onboarding type the following command:
openclaw onboardYou will then be presented with a menu which will handhold you through the setup and different options. Choose yes and continue.
Config
If you are running the OpenClaw Ollama version, you can should run the following command:
openclaw configYou will then be presented with this menu, use the arrow keys to navigate and enter key to confirm an option.
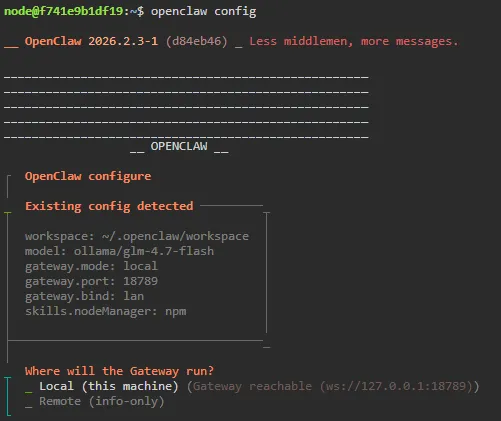
On the firs option choose "Local (this machine)" and press enter.
You will then be presented with these menu options:
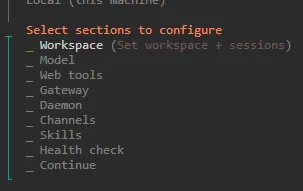
The first option we suggest you choose is "Skills". This option enables you to download some foundational skills based off which OpenClaw can then further build on.
So using the cursor keys on your keyboard, move down to "Skills" and press enter.

When prompted "Configure skills now? (recommended)" select "Yes" and press enter.
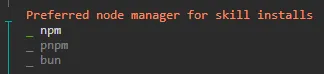
Then choose npm
You will then be presented with a list of initial skills available. Choose them by scrolling down with your keyboard and pressing the space bar. A description is available for each skill.
We recommend at minimum choosing the "clawhub" skill.
If you have selected them correctly, they will show a green line. Once you've completed your selection press enter and it will automatically install. (Wait until the installation is completed).
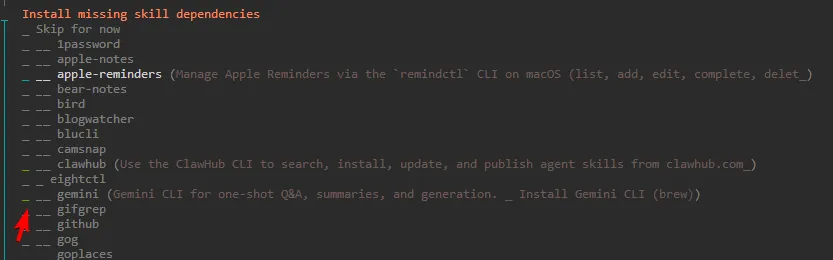
Depending on which skills you install, some may ask you for API's, you can either set them or choose No and add them later.
Once the skills are installed, your OpenClaw will now have foundational skills to use and access to other skills via clawhub.
You will be shown the configuration menu again.
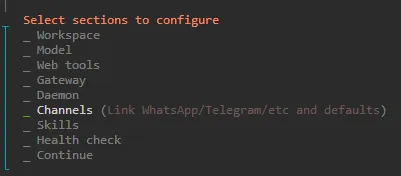
If you want to setup to chat to your OpenClaw instance remotely via Telegram or Discord, move down to Channels option, otherwise press CTRL+C to close the menu.
Telegram configuration
A powerful tool for chatting to your OpenClaw instance while on the go, without needing to use the User Interface. You can run everything via Telegram including issue instructions for new agents and tasks with no need to access the Web UI.
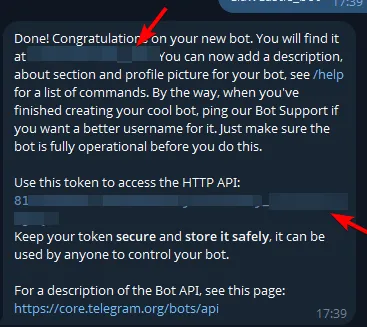
To complete the integration you will need to first go to Telegram and create a new bot via https://t.me/BotFather
Once you have setup your bot you will be given a link to your bot and an API key.
Back in the OpenClaw config menu choose "Channels". If you previously exited the menu you can go back into it by typing "openclaw config".
Choose "Configure/link"

Choose Telegram
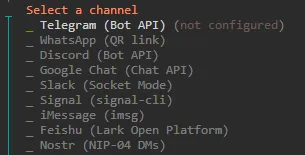
Then paste the API key you were given when you created your Telegram bot.
You will then be redirected to the menu again. Choose "Finished"
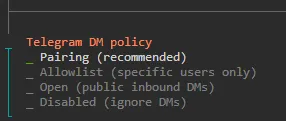
When prompted for "Configure DM access policies now?" choose "Yes"

Then choose pairing. Then exit the menu by pressing CTRL+C.
Go to the bot that you created in Telegram and type /start. Your bot will give you a "Paring code".
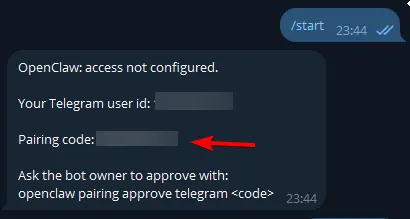
In terminal then type the following command, replace <code> with your actual code you were given inside telegram by your bot.
openclaw pairing approve telegram <code>Done, you can now fully interact with OpenClaw instance using your bot.