Rendering your first project
Once you've familiarized yourself with the addon and OctaRender platform, you are now ready to render your project.
Below is a step by step guide on how to quickly begin rendering your project:
Prerequisite: Before proceeding further, If you haven't yet installed the OctaRender addon, do so now by following the Quick Start Guide[Quick Start Guide].
Step 1: Prepare and Pack Your Project
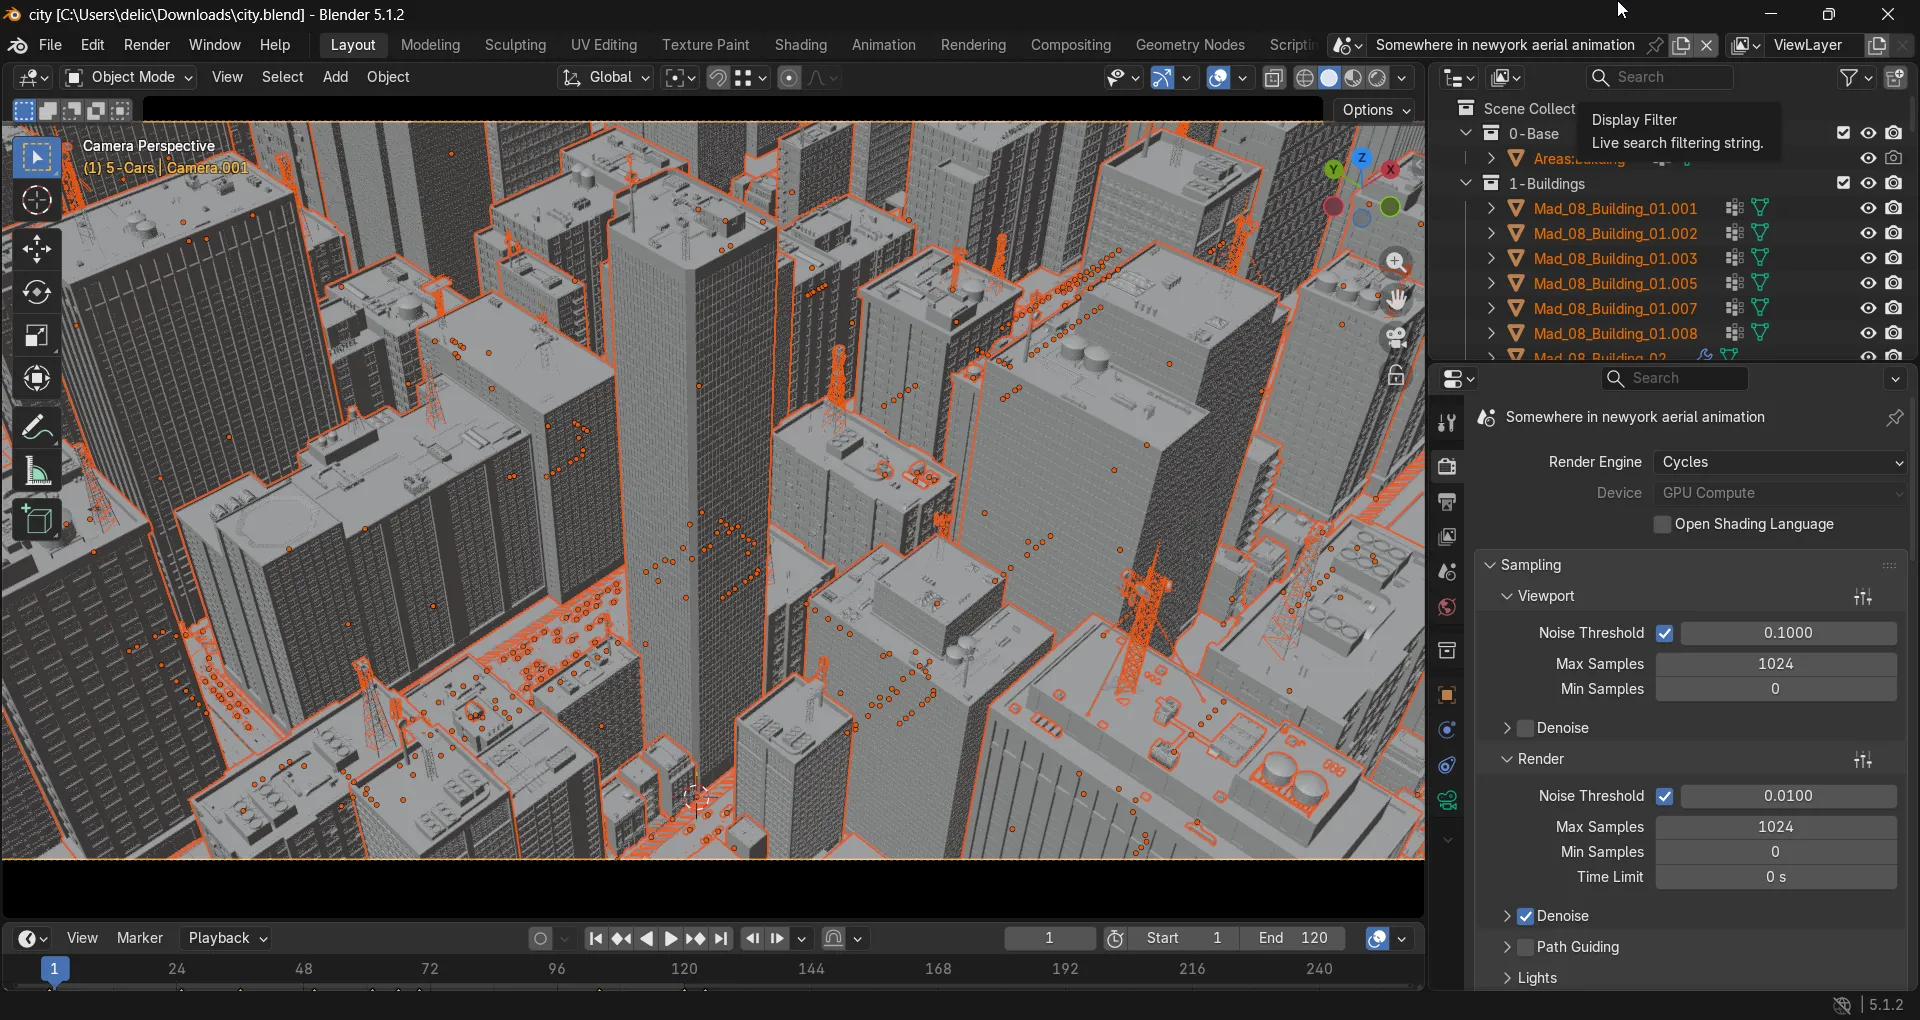
- Open your project inside Blender and make any necessary adjustments you need.
- Once you're ready to render the project, open the Render Properties panel and scroll down to the OctaRender section.
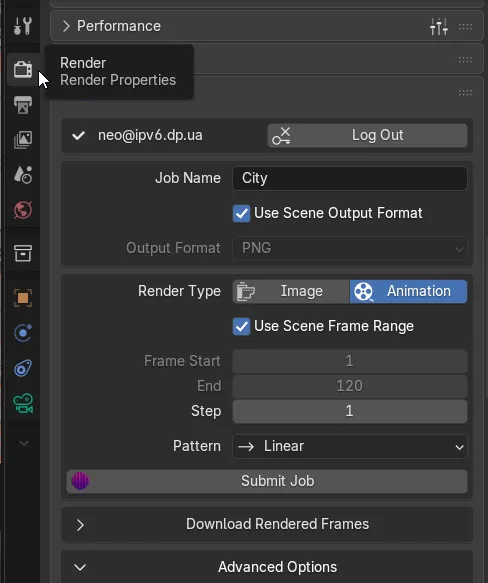
- In the addon, setup the scene and project settings, include addons etc (you can review all the specific functionalities on the OctaRender Addon[OctaRender Addon] reference page) and click "Submit Job".
- Once you've clicked Submit, the addon will analyze the project, all dependencies, textures, VDB's and any other assets that need to be included and perform a packing.
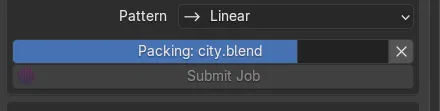
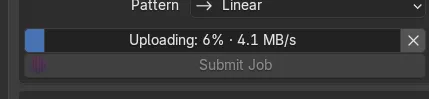
- Once the packing process is completed, it will then begin transferring to the OctaRender platform. Wait until this process is completed.
Step 2: Allocate Nodes and Start Rendering
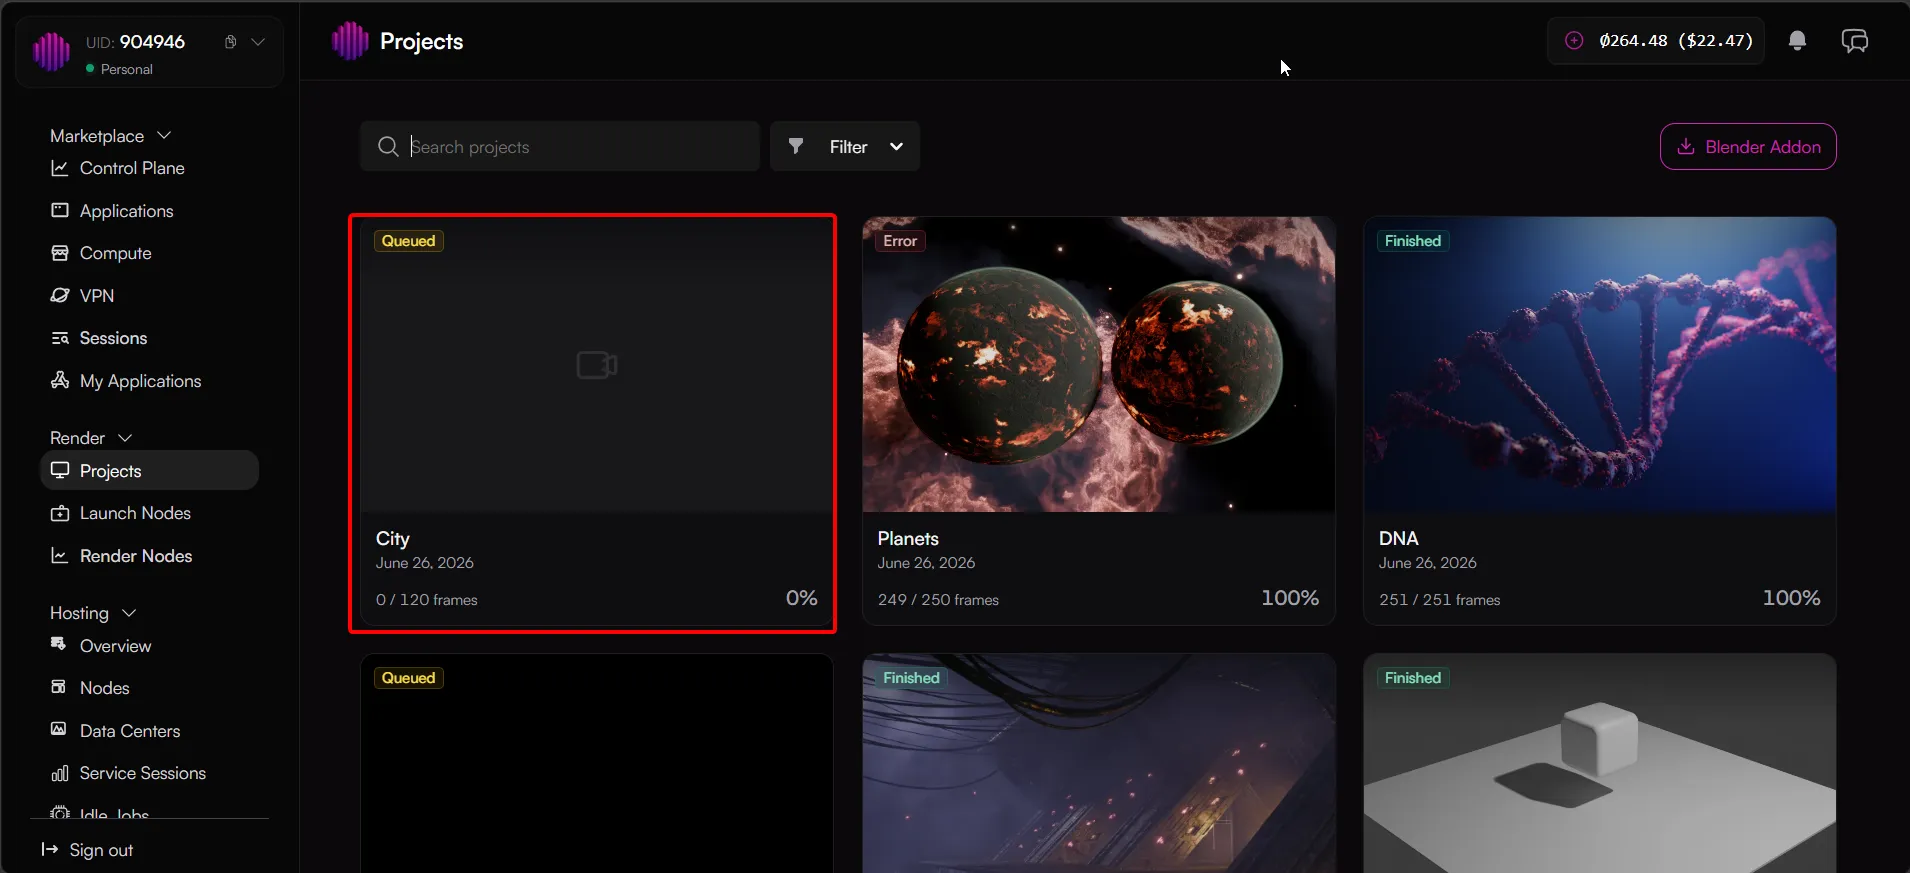
- Once the project has been submitted, go to the OctaRender projects page on https://cube.octa.computer/render. There you will see the project in a Queued status. You can refer to the Projects overview page[Projects Overview Page] to familiarize yourself with the layout and functionality.
- To begin rendering the project, you will need to allocate hardware nodes. Go to Render > Launch Nodes https://cube.octa.computer/render/nodes and select however many nodes you desire that suit your needs and budget.
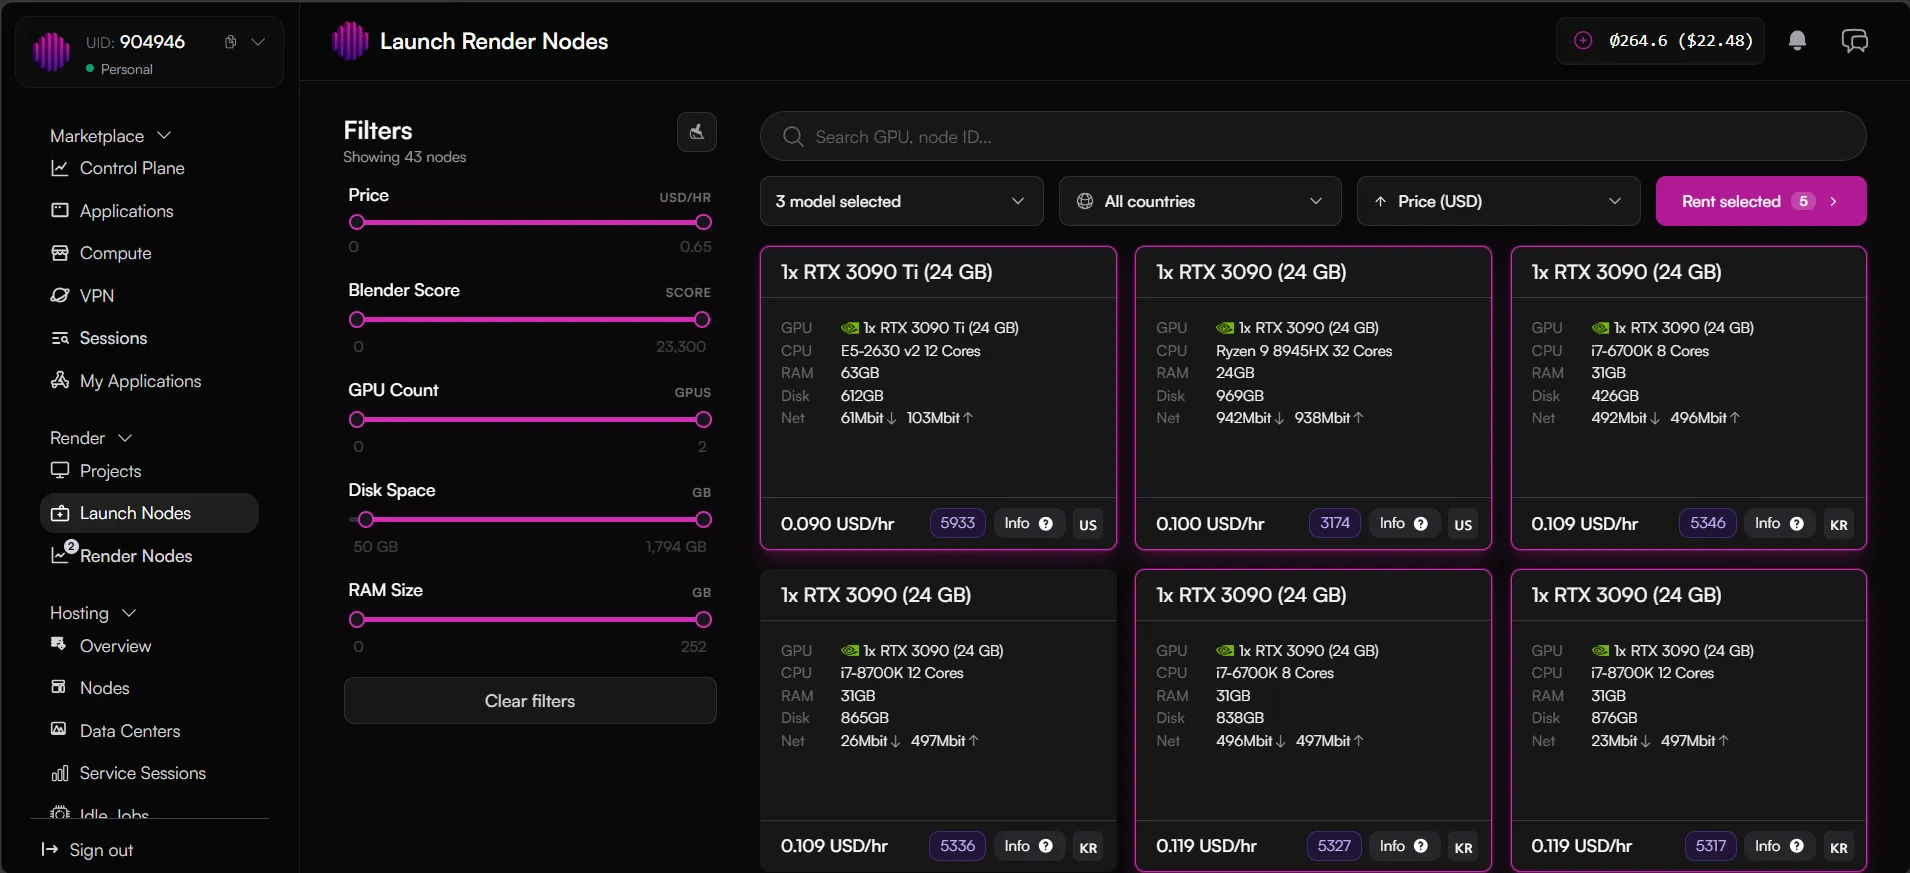
- Use the filtering and sorting functionality to refine your selection and then click "Rent selected". Refer to the Launch Nodes[Launch Nodes] documentation if you need further details.
Step 3: Monitor Your Render
- You will be automatically redirected to the Render Nodes page (Monitoring page[Monitoring Page]), where you will see nodes spinning up and beginning to show telemetry.
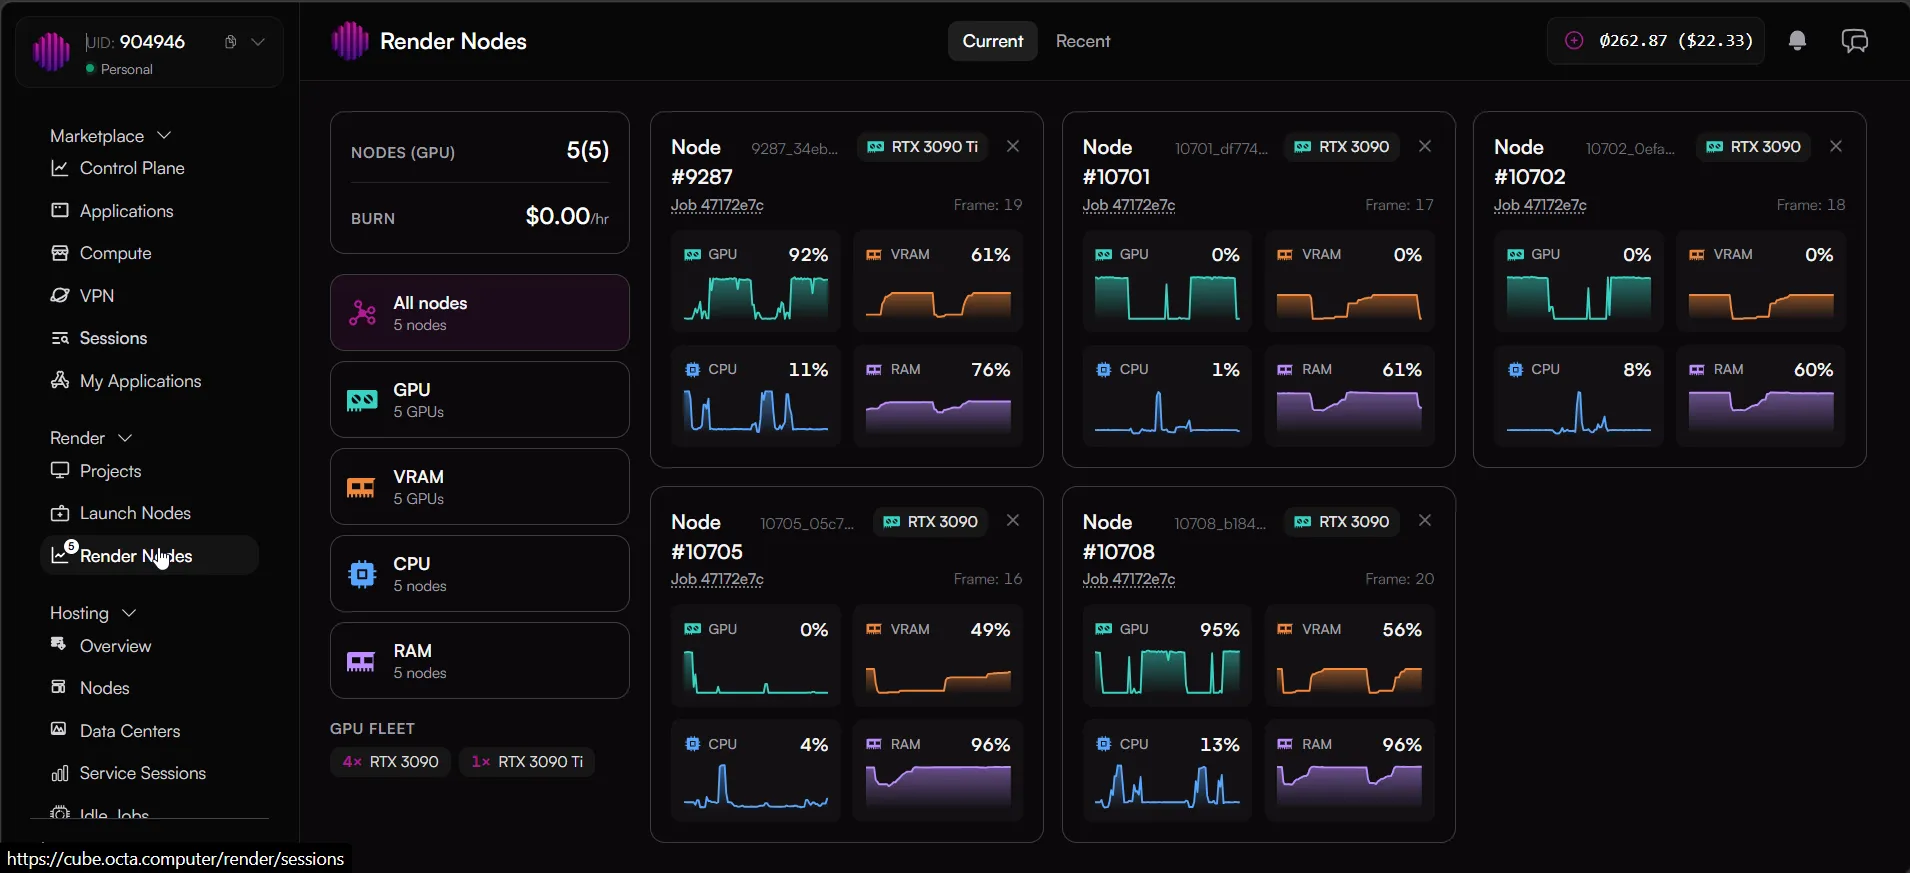
- Once nodes are active, you can go back to the Projects page and access the Project Viewer[Project Viewer] page for your project.
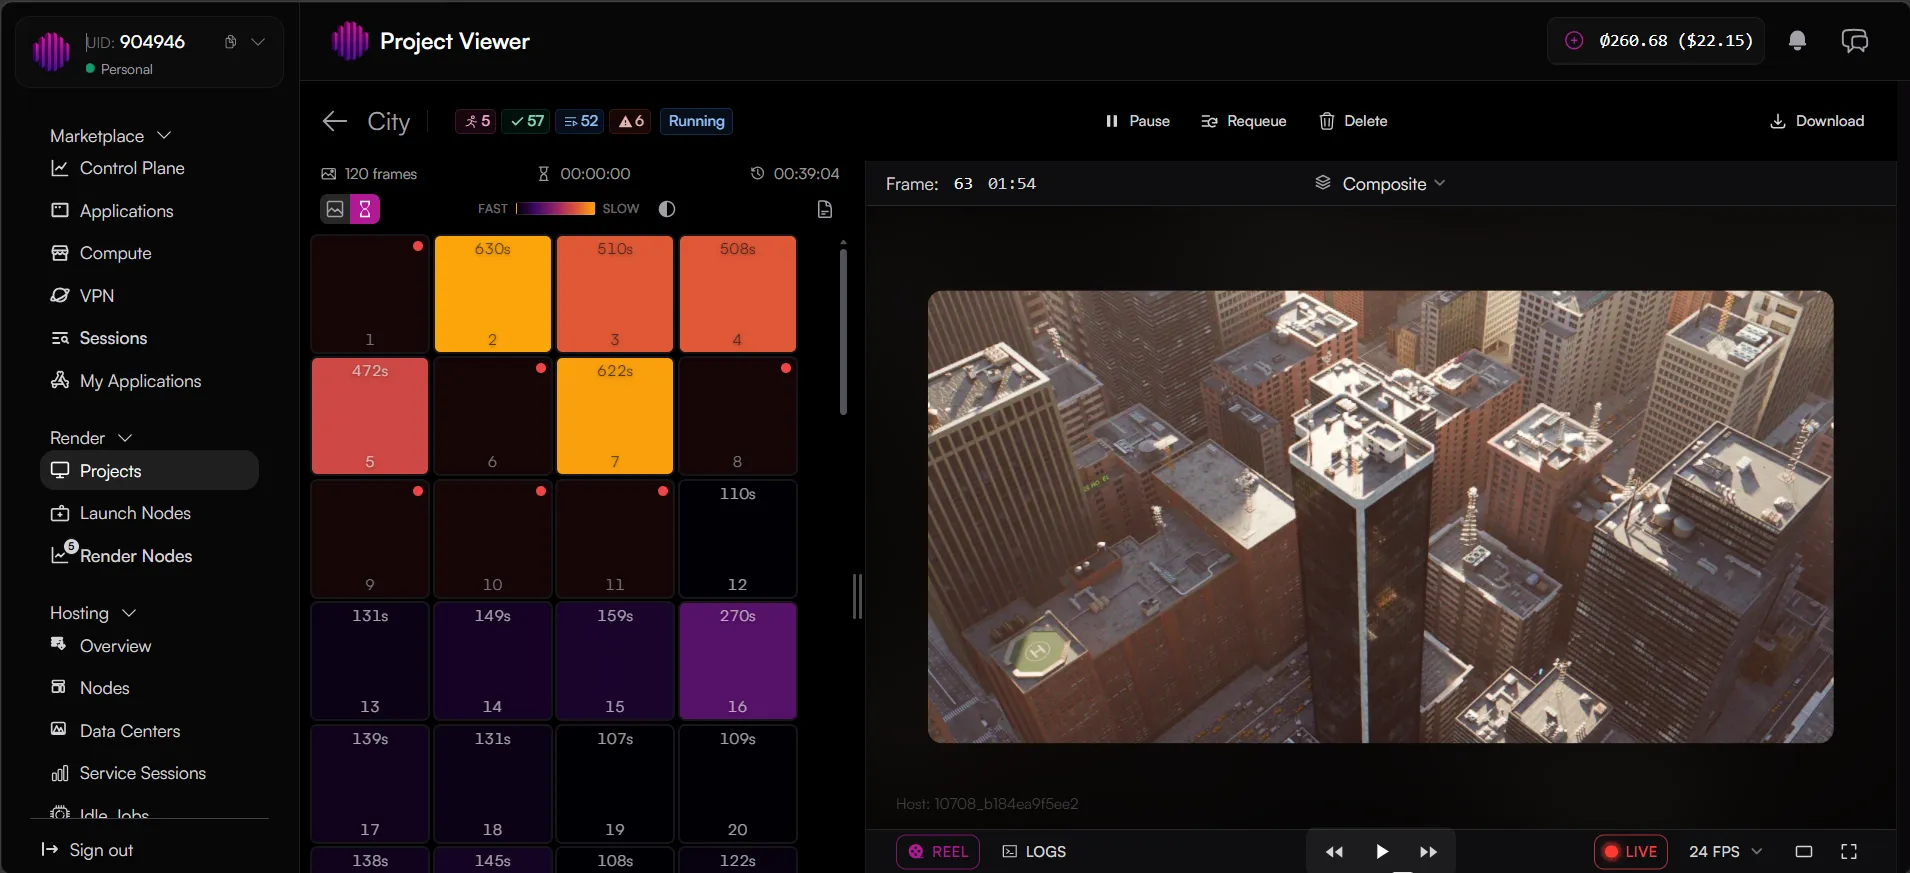
Step 4: Download completed frames
Once the project has completed rendering, you can now download the completed frames. There are 2 ways of doing this, either via the addon inside Blender or via the Project Viewer interface.
Via Addon
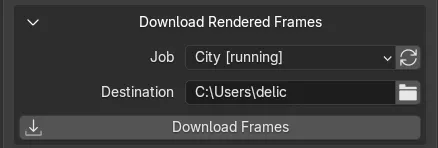
Inside Blender, in the OctaRender addon, scroll down to the "Download Rendered Frames". There it will automatically show your current project. If it's not displayed, click the refresh button next to the dropdown list and then select the project. Choose the local destination folder where the frames will be saved and then click the "Download Frames" button.
Downloading frames via the addon will download the entire project.
Via Project View page
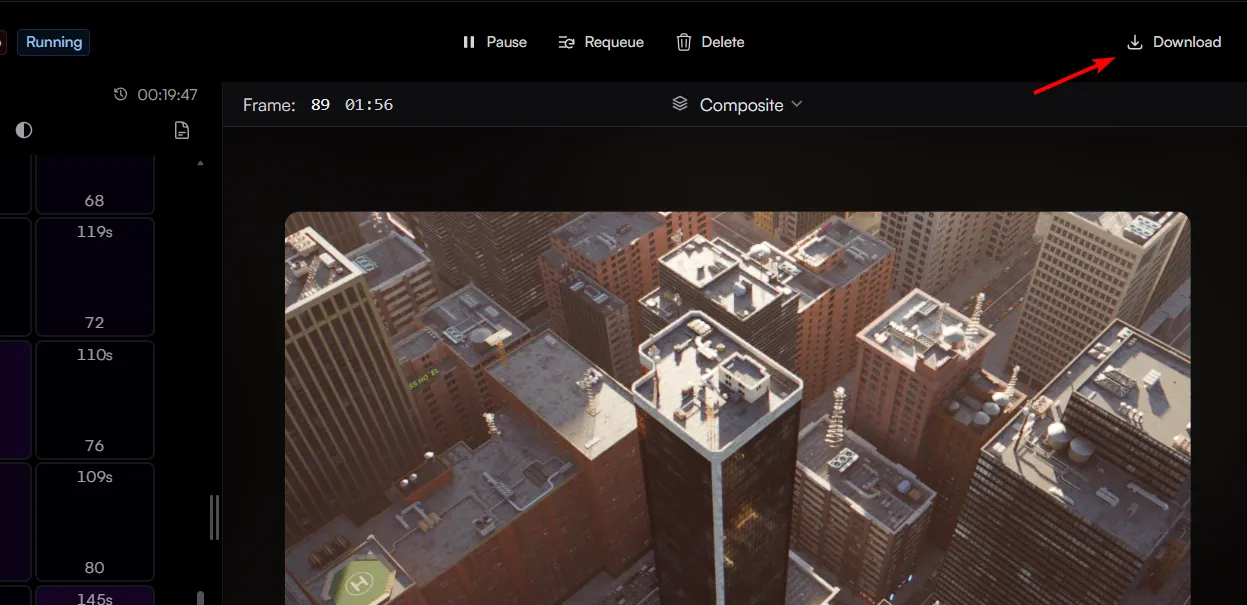
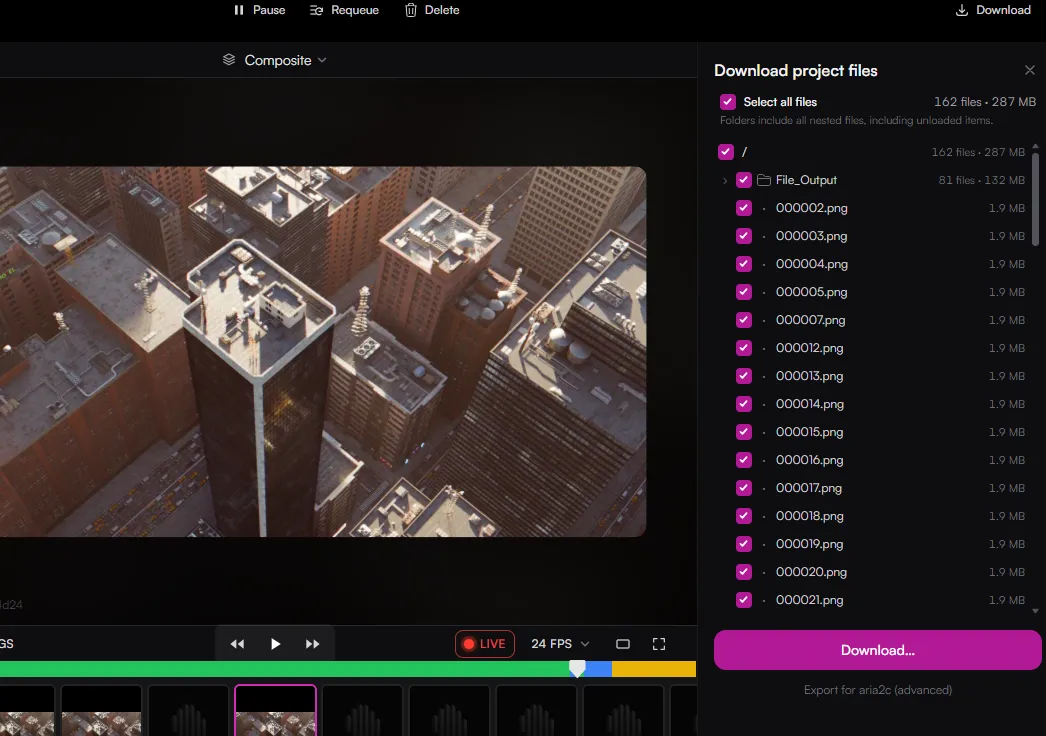
Go to the project view page for your project and click the "Download" button in the top right hand corner. This will open a "Download project files" panel showing you all the available rendered frames and nested folders. You can here check the "Select all files" option to pull everything, or choose to download specific individual frames or folders using their respective checkboxes. Once configured, click the large "Download..." button at the bottom of the panel.